I used poster board to create a pattern to make a shield to protect the unit from debris that tends to fly around beneath a fender. Made from thin-gauge aluminum, the shield goes under the transponder and folds around it.

By the time you get to HPDE3, you’re eager to monitor your lap times in the perennial effort to get faster. You can do that with an in-car lap timer, but NASA can’t track your lap times and neither can MyLaps.com. How will you post links online for all your buddies to see? To do that, you need an transponder, and AMB seems to have the firmest grip on the market.

There are two options: a battery-powered transponder like you probably have been renting, or the direct-powered model, which is the way to go if you’re only tracking/racing one car.

According to AMB, the transponder should be attached vertically, no more than 2 feet above the track for cars. The transponder must have a clear view to the track with no metal or carbon fiber beneath it, and maximum operating temperature should not exceed 122 degrees Fahrenheit. That means the engine compartment is out because of heat, and because many racecars have under trays that would interrupt its signal.

I wanted a setup that came on with the key, so I wouldn’t have to remember to turn it on. I wanted to drill as few holes as possible and I wanted to find an open connector somewhere in the engine bay that I could tap into easily. Out of sight and out of mind, if you will.

I found a location under the left front fender on the frame rail. I had to drill four holes to mount it, but that was all the drilling necessary. The idea of the transponder being exposed to what the tire might kick up (rocks, debris, rubber bits, spray, etc.) didn’t sit well with me, so I made a pattern from poster board to fashion a shield to protect it from damage. I cut the shield from a sheet of thin gauge aluminum, available at any Lowes or Home Depot, and it folds out and around the transponder. Oh, it’s brilliant.

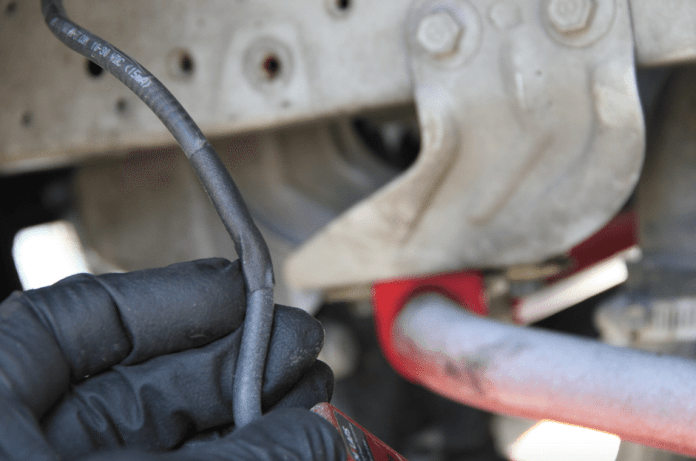
I ran the power cable through an existing hole in the body and found power that came on with the key at the connector for the cruise-control servo, which is part of the harness on my car regardless of whether it came with the option. With just power and ground to connect, the job is simple, even for an electrically challenged guy like me. Right, then. Off we go.

Find a location that allows you to mount the AMB transponder vertically, with a clear shot at the track surface and away from heat that exceeds 122 degrees Fahrenheit. AMB even put an arrow on the unit to make it easy. Mark your holes with a Sharpie, punch dimples and start drilling.
If you can’t through-bolt the transponder in place, be sure the holes you drill are a little smaller than the screws you’re using so they bite.
Run the power cord into the engine bay through an existing hole. No sense drilling if you don’t have to.
It’s a good idea to wrap your power cord with gaffer tape or something similar to protect against chafing where it runs through the sheet metal.
Screw the transponder and shield in place. When it’s mounted, it should not wiggle at all. The little green LED at lower left indicates when the AMB is powered up. Turn the key on and it should illuminate. Note the gaffer tape on the power cord where it goes through the body.
Once you get it screwed in place, fold the shield around it. Considering the direction of tire rotation, the shield should protect it from harm.
Find power that comes on with the key so you never have to remember to switch on your transponder. A simple test light will tell you what goes hot with the key.
With just two wires, installing the AMB is a snap. Clamp on a blade terminal, shrink wrap the connection and plug it in. Use electrical tape if you don’t have shrink wrap.
Find a good grounding spot, such as this threaded hole and scrape off the paint so you are getting metal-to-metal contact.
Clamp on an eyelet connector, shrink wrap it or use electrical tape, and everything should work. Look for the green LED on the transponder itself. If it’s lit, you’re golden.
If you really want to get fanatical, you can add a decal with the transponder number near its location. Now we’re done. Let’s go racing.
Image courtesy of Brett Becker

Join the Discussion